
Irresistible Biscoff Cheesecake Recipe
Introduction
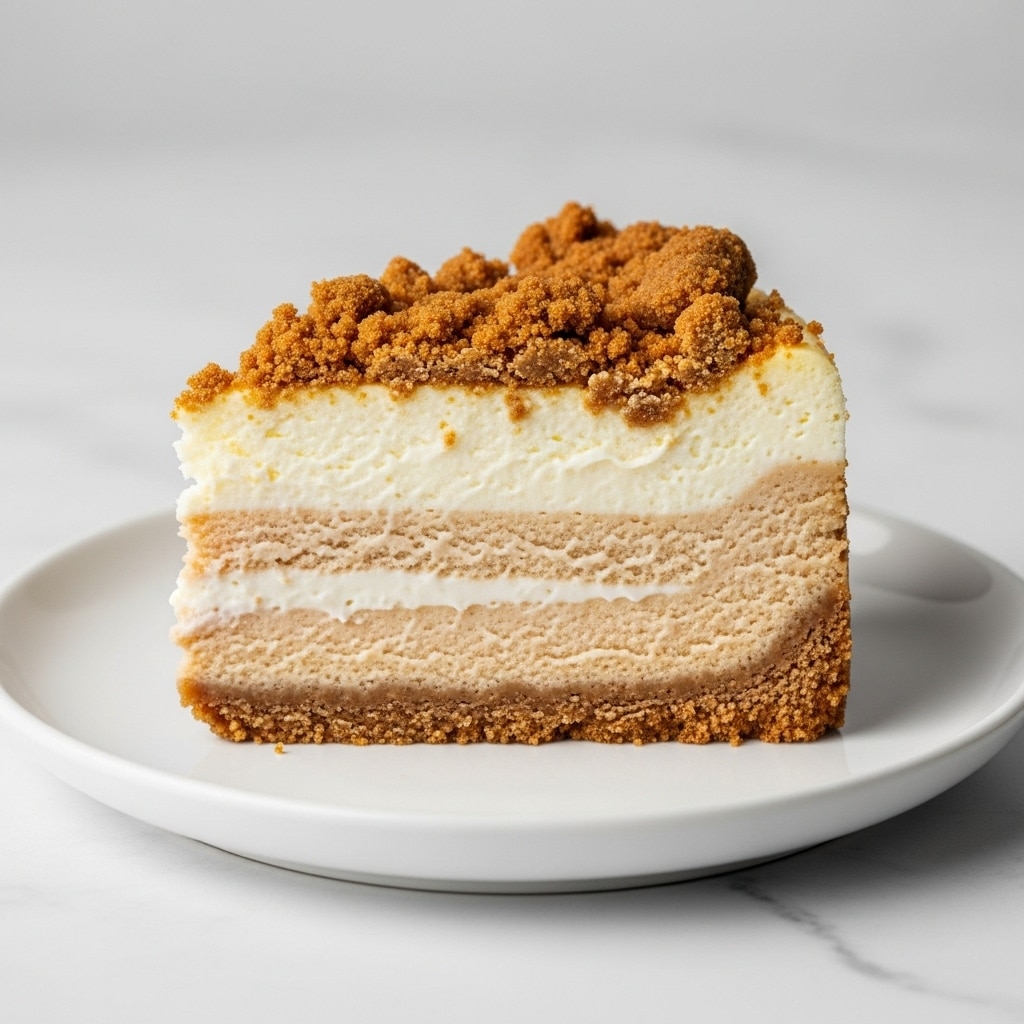
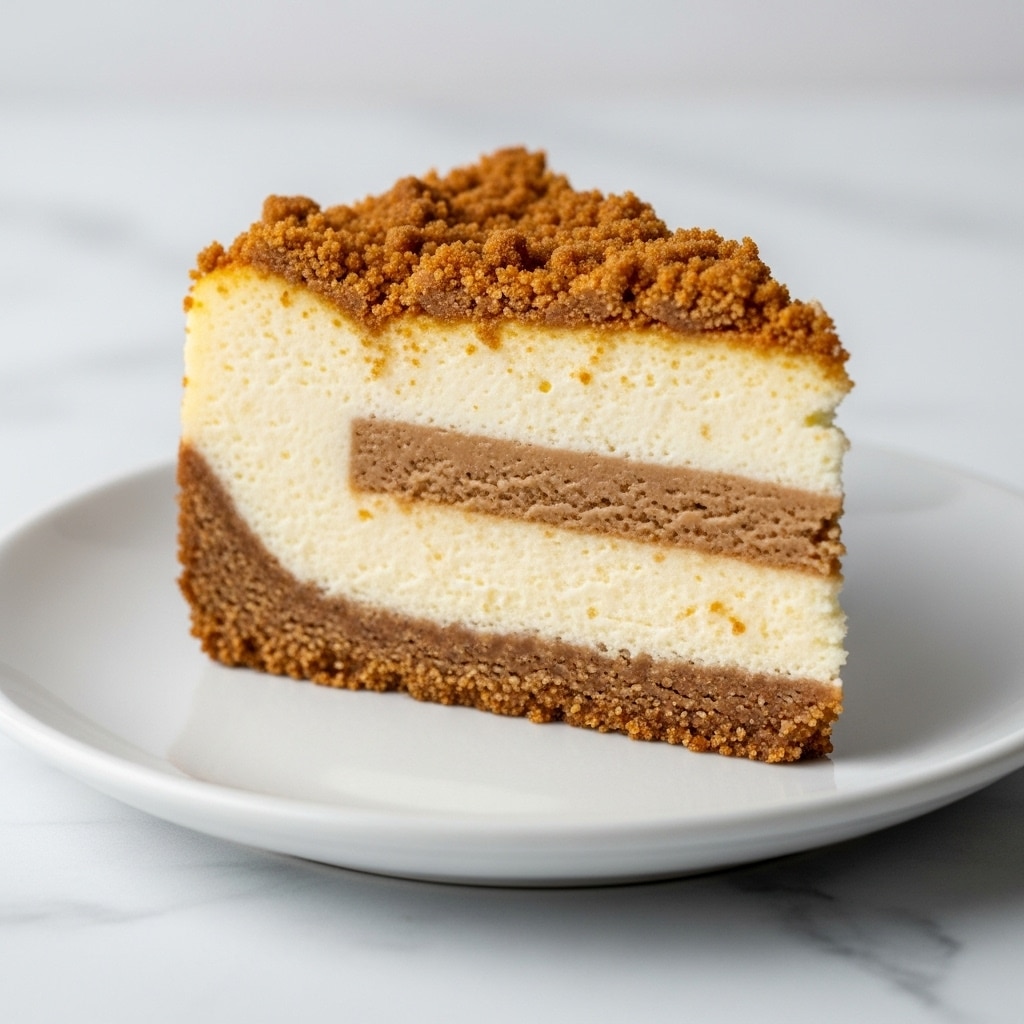
Indulge in the rich and creamy delight of this Irresistible Biscoff Cheesecake. Combining the iconic caramelized flavor of Biscoff with a smooth creamy texture, this dessert is perfect for any occasion or a special treat at home.
Ingredients
- 200g Biscoff cookies
- 100g melted butter
- 500g cream cheese
- 150g sugar
- 200g Biscoff spread
- 2 eggs
- 1 tsp vanilla extract
- 200ml heavy cream
Instructions
- Step 1: Crush the Biscoff cookies into fine crumbs and combine them with the melted butter. Press the mixture firmly into the base of a springform pan to form an even crust.
- Step 2: In a large bowl, beat the cream cheese, sugar, and Biscoff spread together until the mixture is smooth and well combined.
- Step 3: Add the eggs one at a time, beating well after each addition, then mix in the vanilla extract.
- Step 4: Whip the heavy cream until it forms soft peaks, then gently fold it into the cream cheese mixture to keep it light and airy.
- Step 5: Pour the cheesecake filling over the prepared crust in the springform pan, spreading it out evenly. Bake in a preheated oven at 160°C (320°F) for 45 minutes.
- Step 6: Allow the cheesecake to cool completely at room temperature before refrigerating it for at least 4 hours to set fully.
Tips & Variations
- For extra flavor, add a pinch of cinnamon or nutmeg to the crust mixture.
- Swap the heavy cream for whipped coconut cream to make it dairy-free.
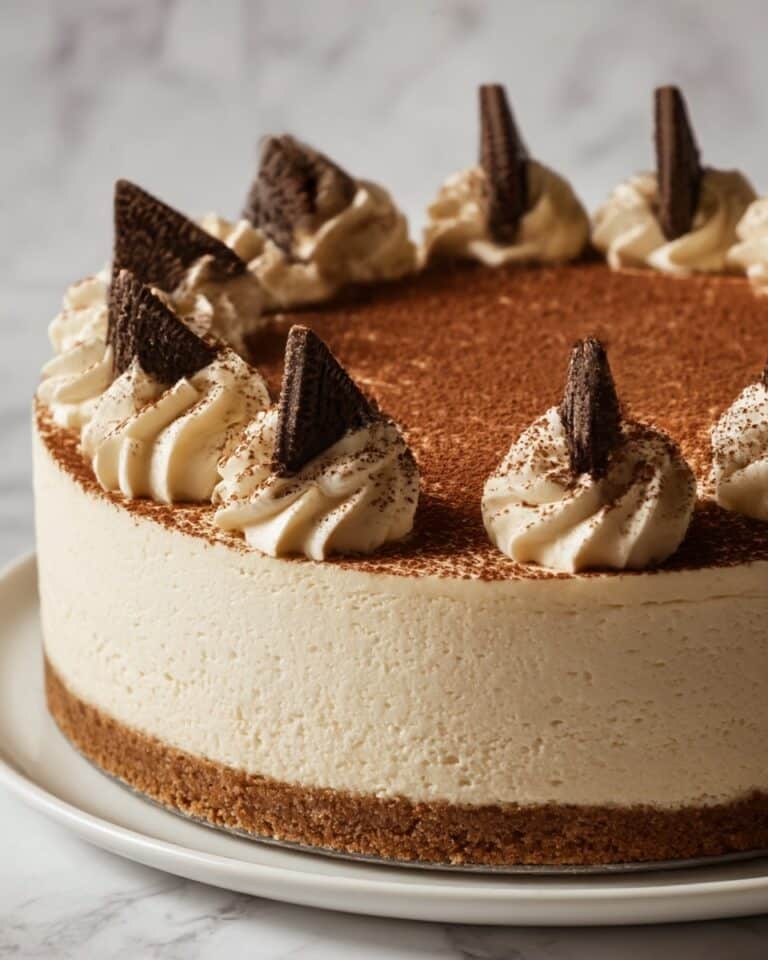
- Top with crushed Biscoff cookies or a drizzle of melted Biscoff spread before serving for added texture and presentation.
- Use a water bath while baking to prevent cracks and keep the cheesecake extra creamy.
Storage
Store the cheesecake covered in the refrigerator for up to 4 days. For best texture, allow it to come to room temperature for 15–20 minutes before serving. You can also freeze the cheesecake for up to 1 month; thaw overnight in the refrigerator before enjoying.
How to Serve
Serve this delicious recipe with your favorite sides.
FAQs
Can I use regular cookies instead of Biscoff cookies?
While Biscoff cookies provide a unique caramelized flavor, you can substitute with graham crackers or digestive biscuits, though the taste will be different.
How do I prevent the cheesecake from cracking?
Baking the cheesecake in a water bath helps maintain moisture and temperature control, reducing the chance of cracks. Also, avoid overmixing and baking at too high a temperature.
Print
Irresistible Biscoff Cheesecake Recipe
- Total Time: 5 hours 5 minutes
- Yield: 8 servings 1x
Description
This irresistible Biscoff cheesecake features a crunchy Biscoff cookie crust paired with a creamy, sweet Biscoff spread-infused filling. Perfectly baked to set with a rich and smooth texture, this cheesecake is a delightful dessert for Biscoff lovers looking for an easy yet impressive treat.
Ingredients
Crust
- 200g Biscoff cookies
- 100g melted butter
Filling
- 500g cream cheese
- 150g sugar
- 200g Biscoff spread
- 2 eggs
- 1 tsp vanilla extract
- 200ml heavy cream
Instructions
- Prepare the crust: Crush the Biscoff cookies into fine crumbs and mix thoroughly with the melted butter. Press this mixture evenly into the base of a springform pan to form the crust.
- Mix the base filling: In a large bowl, beat the cream cheese, sugar, and Biscoff spread together until the mixture is smooth and creamy with no lumps.
- Add eggs and vanilla: Incorporate the eggs one at a time into the filling mixture, beating well after each addition, then stir in the vanilla extract to blend.
- Whip and fold cream: Whip the heavy cream until soft peaks form and gently fold it into the cream cheese mixture, maintaining a light and airy texture.
- Assemble and bake: Pour the filling over the prepared cookie crust in the springform pan and smooth the top. Bake in a preheated oven at 160°C (320°F) for 45 minutes until the edges are set but the center slightly jiggles.
- Cool and refrigerate: Allow the cheesecake to cool down to room temperature, then refrigerate it for at least 4 hours or preferably overnight to fully set and develop flavor.
Notes
- Ensure the cream cheese is at room temperature before mixing to avoid lumps.
- Do not overmix once the whipped cream is folded in to maintain fluffiness.
- Using a springform pan makes removing the cheesecake easier without damaging the crust or edges.
- Refrigerate for a minimum of 4 hours, but overnight chilling yields the best texture and flavor.
- For a decorative touch, garnish with crushed Biscoff cookies or a drizzle of Biscoff spread before serving.
- Prep Time: 20 minutes
- Cook Time: 45 minutes
- Category: Dessert
- Method: Baking
- Cuisine: Western
Keywords: Biscoff cheesecake, Biscoff cookies, creamy cheesecake, baked cheesecake, dessert recipe


